In the digital age, ensuring your online security and privacy is crucial. When it comes to protecting your Windows PC, a VPN (Virtual Private Network) is your best ally.
In this comprehensive guide, we will explore how to choose the perfect VPN for Windows, with a particular focus on ZoogVPN. By the end of this article, you'll have the knowledge needed to make an informed decision and enhance your online experience.
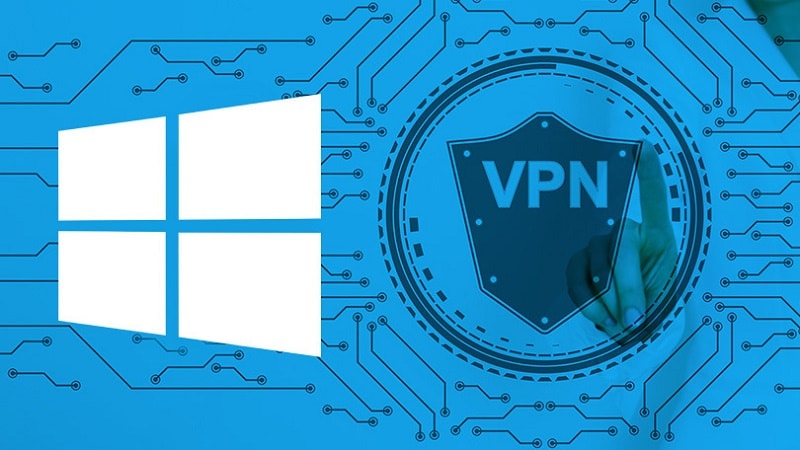
Understanding the Need for a VPN on Windows

The world of Windows PC is teeming with potential risks. Not using a VPN on your Windows PC exposes you to cyber threats, data theft, and surveillance. A VPN acts as a shield, encrypting your internet connection and anonymizing your online activities. It's a must for every Windows PC user.
Key Considerations When Choosing a VPN for Windows
Speed and Performance
One of the concerns users have about VPNs is the impact on internet speed. A high-quality VPN like ZoogVPN minimizes speed loss while maintaining robust security. When choosing a VPN, look for one that offers a balance between speed and security to ensure a seamless online experience.
Security and Privacy
Data encryption is the backbone of a VPN's security. ZoogVPN uses advanced encryption protocols to protect your data from prying eyes. Moreover, it follows a strict no-logs policy, meaning your online activities remain private, with no data retention.
Server Locations and Geo-Unblocking
Accessing geo-restricted content becomes effortless with ZoogVPN's global server network. The more server locations a VPN offers, the more options you have for bypassing content restrictions and enjoying a secure internet connection.
Compatibility with Windows Versions
ZoogVPN is designed to work seamlessly with various Windows OS versions, from Windows 7 to Windows 11. It tailors its features to leverage the unique aspects of each version, ensuring a reliable VPN experience.
Types of VPN Protocols
ZoogVPN offers a range of VPN protocols, including OpenVPN, L2TP, and IKEv2. Each protocol has its advantages, and ZoogVPN provides options to cater to your specific needs.
Evaluating VPN Services
ZoogVPN stands out among VPN providers for Windows. With a user-friendly interface, competitive pricing, and exceptional customer support, it's an excellent choice. Read user reviews and testimonials to gain insights from the ZoogVPN community.
Setting Up a VPN on Windows
Installing ZoogVPN on your Windows PC is straightforward. Follow our step-by-step guide to set up and configure the service. Troubleshooting tips are also provided to help you resolve common installation issues.
Testing Your VPN

After installation, it's important to verify that your VPN is working as expected. Learn how to check if your online anonymity is maintained and ensure your security.
Additional Features to Look For
ZoogVPN offers extra features such as a kill switch and split tunneling. Discover how these features can enhance your online privacy and determine if they're essential for your needs.
Staying Safe with Your Windows VPN
Regular maintenance and adherence to security best practices are vital to keeping your online privacy intact. This section provides tips for maintaining your security and emphasizes the importance of keeping your VPN software updated.
In a world where online threats are ever-present, taking control of your digital privacy is non-negotiable. ZoogVPN, with its Windows-optimized service, offers a robust solution for users seeking to protect their data and online activities. We encourage you to use the knowledge gained from this guide to make an informed decision and strengthen your online privacy and security.