Did you know that it’s possible to add some personal spin to all default windows icons on your PC? Read on to find out how to enhance the visual appeal of your desktop by customizing icons in Windows 10.
Unknown to many, all default icons for all apps, files, and folders in the Windows operating system can actually be replaced with a different, more exciting icon. Meaning, instead of putting up with the default icons options, you can personalize them to make the desktop more appealing and unique.
There are a couple of 0f ways to do this. In this guide, we’ll highlight some of the common ways you can use to customize icons in Windows 10.
That being said, let’s jump straight to the different methods in our list.
Method 1: Change Windows Desktop Icons
Customizing desktop icons is super easy. Maybe it’s worth noting that desktop icons are basically application shortcuts located on your PC’s desktop. By default, Windows 7, 8, and 10 users have the recycle bin as the only desktop icon. Earlier versions of windows had comparatively more icons.
Tip! You can populate your desktop with as many icons as you wish – the only limit can be your PC’s hard disk capacity.
The procedure for adding icons on your desktop is fairly simple and straightforward. There are 2 ways to do it. We’ll discuss both ways.
Option (A): Via the Desktop Icon Settings
Follow these steps to change icons on your PC’s desktop using this option.
Step 1: Type settings in the search bar that proceed to click the setting app icon. The Settings window will appear.
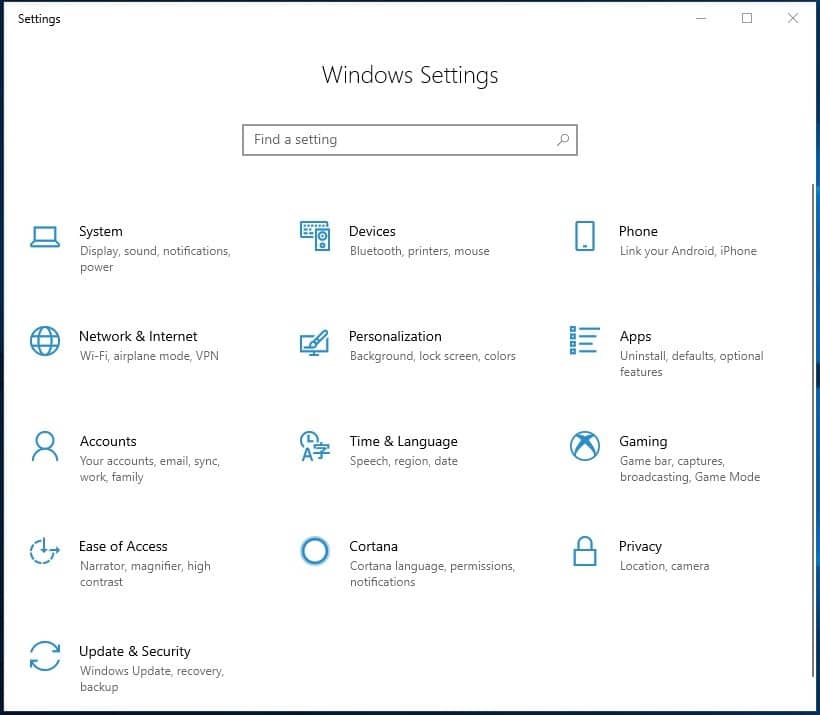
Step 2: From the options, choose Personalization. Then on the left pane of the next window, select Themes.
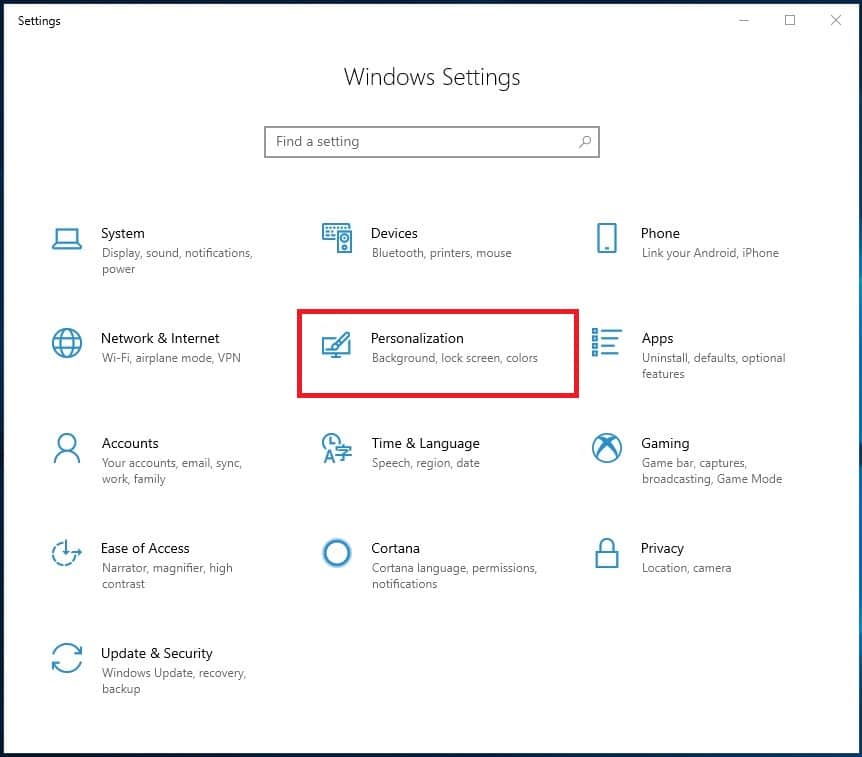
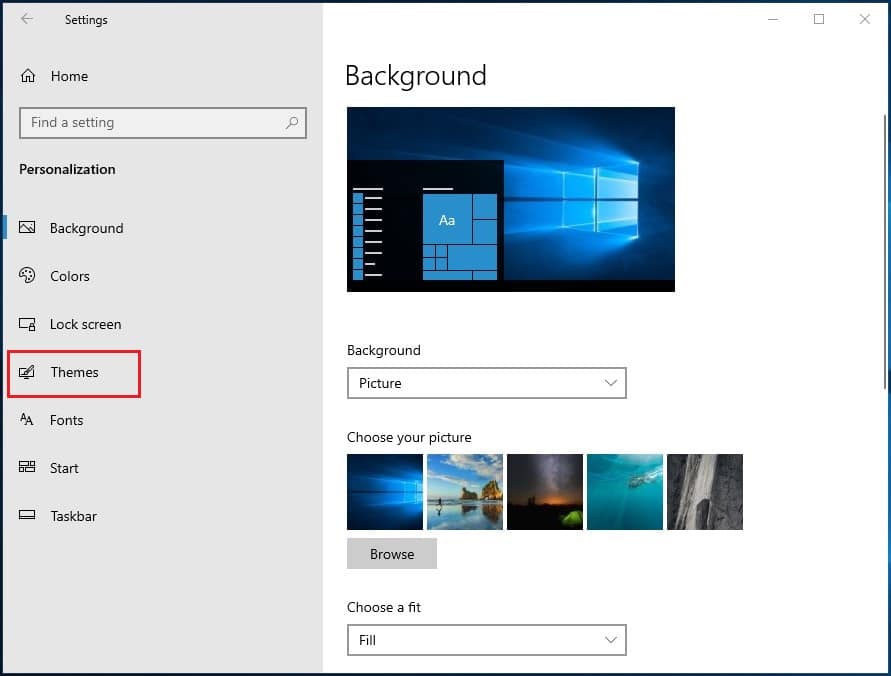
Step 3: On the right-hand side of the same window, under Related Settings, choose Desktop Icon Settings. A popup window will appear. Under Desktop Icons, check the boxes for all the icons you wish to appear on your desktop.
![]()
![]()
Step 4: If you wish to change any of the icons, simply select it then, on the same popup window for Desktop Icons settings, click on the change icon button.
![]()
Tip! Do not uncheck the box for: Allow themes to change desktop icons. Leave it checked.
Step 5: Once you click the change icons button, a window with the same name will appear. On the screen, you will see a list of built-in windows icons. Choose the one you’d like to use to replace the default icon.
![]()
Alternatively, if you have your own icons files, you can access them by simply clicking on Browse within the same Change icon window.
Step 6: Once you’ve selected your preferred icon, click OK. That’s all you need to do to change windows desktop icons using this option. You can check the desktop to confirm that the default icon has been changed successfully.
Option (B). Changing Directly from the Apps Icon
This option is the simplest; no complex steps are involved. It’s done directly on the app’s desktop icon. Follow these easy steps to change any desktop icon using this option.
Step 1: Head over to your desktop. A quick way to do that is by simply clicking on the bottom right corner of your screen.
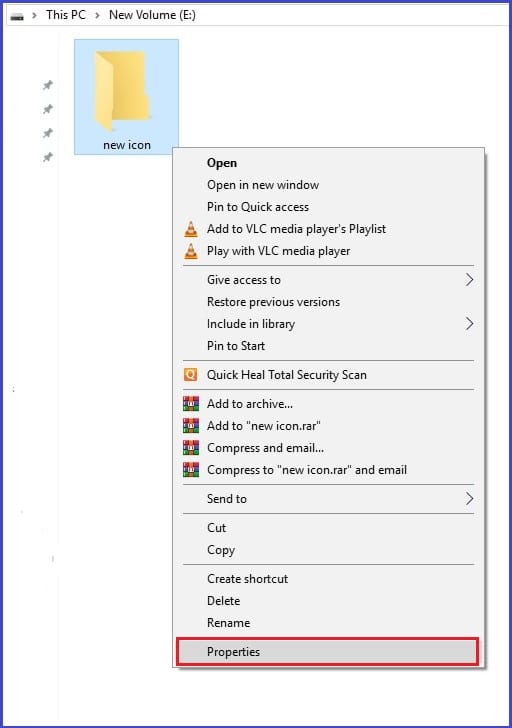
Step 2: Once you’re on the desktop, select the app icon that you’d wish to change, then right-click on it. A window of options will appear.
![]()
Step 3: Select properties at the bottom of the options window. The app’s properties window will appear with the shortcut tab open by default.
![]()

Step 4: Click on the Change Icon button at the bottom of the window. A Change Icon window will appear with a list of icons to choose from.
![]()
![]()
Step 5: Choose your preferred icon, then click OK at the bottom of that same window. If you have your own Icon files, access them by clicking Browse, then select the particular icon. Next, head back to the Icon properties window and then click Apply. A dialogue box will appear notifying you that “You will need to provide Administrator permission to change these settings”. Click continue, then click OK.
That’s all you need to do to change any desktop icon using this method.
Go to your desktop to confirm that the selected default icon has been successfully replaced with the new one.
Tip!
In case you change your mind after changing the icon, you can revert back to the default icon by simply deleting the new icon from your desktop then dragging the shortcut icon from the installation folder.
Method 2: Change Folder Icons
You can also change the default folder icon to something prettier. To do this, you don’t need any third-party apps. You can do it with windows in-built utility features. Follow these steps to change the icon for any folder.
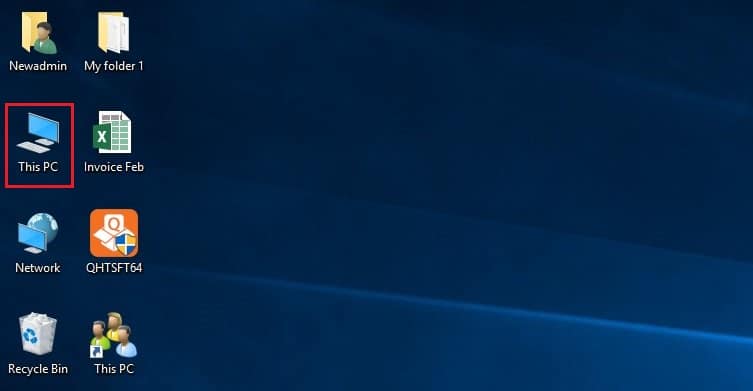
Step 1: Select any folder on your PC. If you’re a beginner, a faster way to do that would be to click on This PC, then select any disk and choose a preferred folder. Alternatively, if you have some folders on the desktop, you can access them by clicking on the bottom right corner of your screen then select one of them.
Step 2: Right-click on the selected folder, then on the options window, choose Properties. The folder’s properties window will appear.
Step 3: Click on the Customize tab, then at the bottom of the window, click on the Change Icon button.
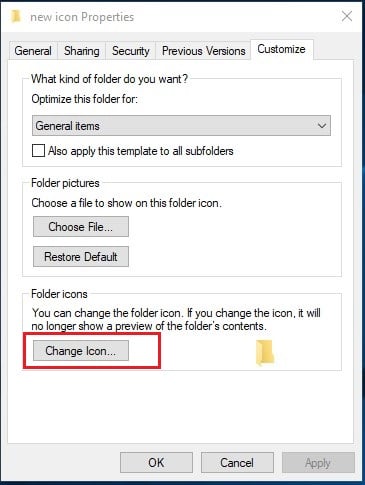
Step 4: A change icon window for the selected folder will appear with a list of icons to choose from. Select your preferred icon, then click OK.
![]()
Alternatively, you can choose your own icon files by selecting Browse on the same change icon window and then clicking OK.
Step 5: After choosing your preferred alternative icon to replace the default folder icon, head back to the folder’s properties window, then click OK.
![]()
Step 6: Congratulations! You just finished changing the folder icon. Check to confirm that the selected folder now has a brand new look.
Method 3: Change Disk Icon
Unlike the case with desktop icons and folder icons, changing disk icons is not very straightforward. There are only two ways to go about it.
a.) By editing the windows registry. (Very complicated)
b.) Using third-party software. (We recommend the Redmond Pie Drive Icon Changer software: Click Here
Here, we’ll only discuss the use of third-party software to change a disk icon. Editing windows registries to change a disk icon is a rather complex procedure. We’ll discuss it in a different article.
With that said, let’s elaborate on the steps of how to use the Redmond Pie Icon Changer.
![]()
Step 1: Download and then launch the software.
Step 2: On the tool’s interface, under select your drive, choose the drive whose icon you wish to change.
Step 3: Next, choose your preferred icon by searching under select your desired icon dropdown box on the app’s UI. After that, click Save.
That’s all! You’ve successfully changed the icon for the select disk. However, just to be sure it worked, click on This PC, then check to confirm that the selected disk icon has a new look.
Tip:
i). To change the icon for drive C (where windows are installed), remember to run the Redmond Pie icon Changer as administrator.
ii). You can revert to the default drive icon by simply clicking Restore Default on the software’s user interface.
Where to download Icons
You can download and use color, simple, or high contrast icons to beautify your PC’s user interface. There are a couple of sites from where you can get these icons. Here are some sites you can check out:
1. How do I change Icons on a Mac?
Mac allows you to change icons and replace them with custom pictures or icons downloaded from the web or copied from other files or folders. Follow these quick steps to help you change icons on a Mac.
Using icon from another file or folder
Step 1: Select the file or folder whose icon you wish to copy.
Step 2: Once you select the file, click Get Info. That will open the Get Info window.
Step 3: Under the options available in that window, select Edit and after which you’ll proceed to click Copy.
Step 4: Next, click on the icon on the top of the Info window and choose Paste, and that’s it.
Congrats! You’ve successfully replaced an icon for file or folders icon on Mac.
2. How do I convert PNG images to ICO files?
This can be done with the help of third-party software that is downloaded and installed on the computer. Alternatively, you can simply do it much faster and more conveniently on websites that provide Online File Conversion services. We highly recommend the use of online sites for the conversion of PNG images to ICO file formats.
Follow these steps to know how to do it online on zamzar.com:
Step 1: Select the PNG file that you want to convert to ICO file format.
Step 2: Under file formats, select ICO.
Step 3: After confirming that you want to convert the PNG to ICO format, proceed to click. Your image file will then be converted to the selected format.
You may be interested in: